Creating special effects with Liquid Latex
16.10.2017
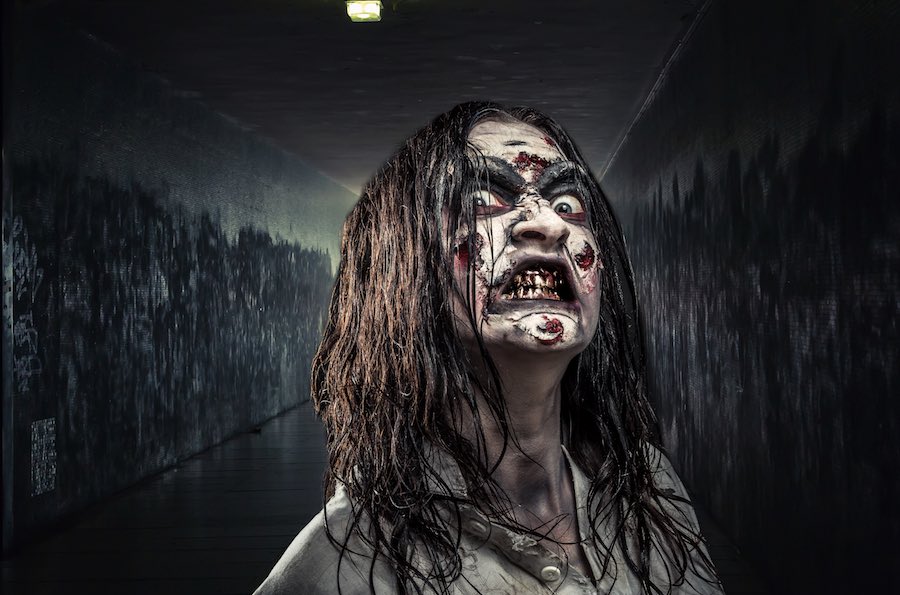
Liquid latex allows you to create some epic special effect makeup looks.
BYS have perfected this fantastic liquid latex specifically for creating flawless FX makeup. Definitely a Halloween must-have!
Today, we’ll explain how to use liquid latex to create bleeding wounds and teaching you everything you need to know about this awesome (but messy) product.

Preparation
Before applying any sort of makeup, you should always do a patch test for allergies. Be sure to run a patch test of the liquid latex before slathering it all over your face to avoid a potential catastrophe!
If all is good and you haven’t shown any signs of irritation, you can start preparing your skin for application. You should conduct these preparations 24 hours before beginning your makeup look to give your skin a chance to settle.
Be sure to shave any baby hairs on the areas you plan on applying the liquid latex to for easier, smoother removal that doesn’t feel like a waxing session!
I would highly recommend against applying liquid latex around your eyebrows or any other facial hair you want to keep, but if you’re treading close and want to be safe, make sure you protect the hair first by coating it with oil.
You can make the eventual removal even easier by moisturising the skin so that you’re applying the liquid latex onto a soft, smooth surface.
Creating The Wound
Apply the liquid latex to the area you want to create the wound. Do this with a cheap paintbrush or a disposable cosmetic wedge as the latex will destroy your makeup brushes.

Photo credit: Zombie Barbie
Cover the liquid latex with layers of single ply tissue. Continue applying liquid latex and adding tissues until you’ve reached your desired thickness.
Consider how deep you want to wound to look. More thickness = more depth.

Photo credit: Zombie Barbie
Once you’re satisfied, gently cut the tissue paper where you want the wound to be. Separate the paper to create a wound-like hole that resembles a gash.
When you’re happy with it, apply foundation to the tissue paper to blend it into your skin and make it more realistic. Once you’ve blended it as best as you can, you can start playing around with colour.
First, use a black eyeshadow to outline the inside of the wound to accentuate the depth. Then, play around with different shades of red and brown to make it look as though the wound is bleeding. Dust these shadows around the wound as well as inside of it to make it more realistic. Feel free to incorporate some purple shades to create the look of bruising.
You can take this up a notch by adding some BYS Special FX Blood Liquid to really terrify your friends and family!

Photo credit: Zombie Barbie
Removal
Liquid latex can be removed by washing with warm soapy water and gently pulling it off the skin.
If it seems to be stuck, continue applying the warm soapy water to help loosen it up. You can also massage oil into the remaining latex help it lift.